1/20 Goblin (Mirage Ocean)
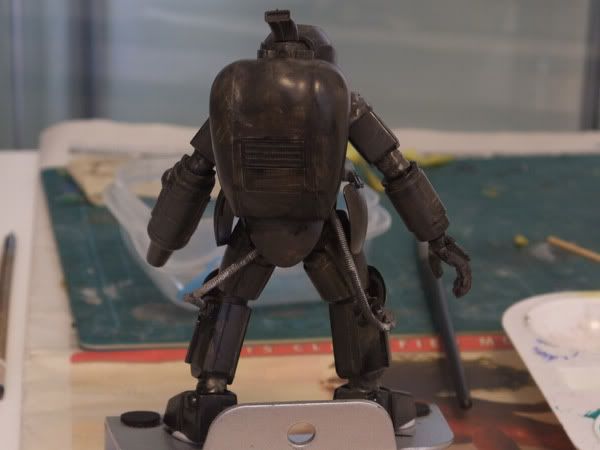
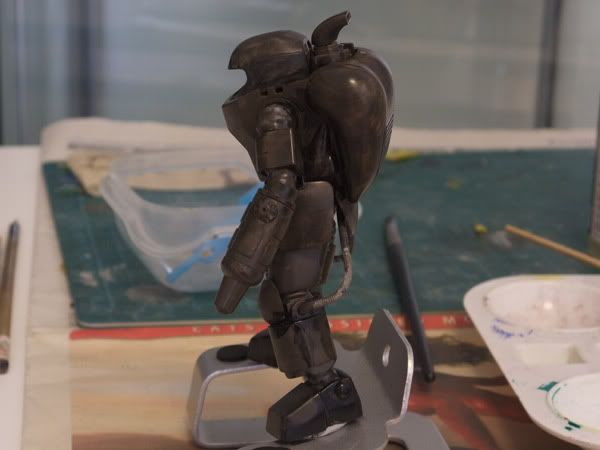
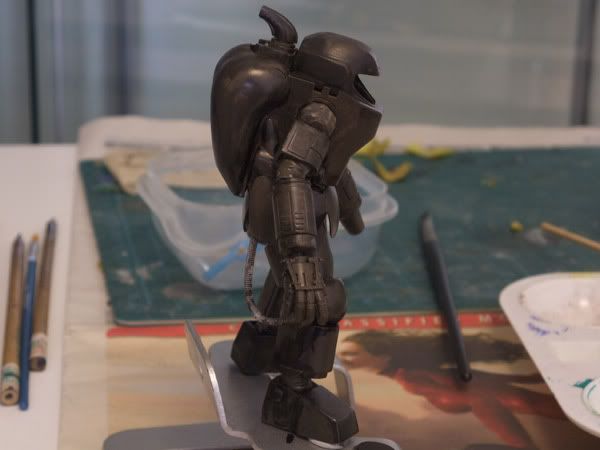
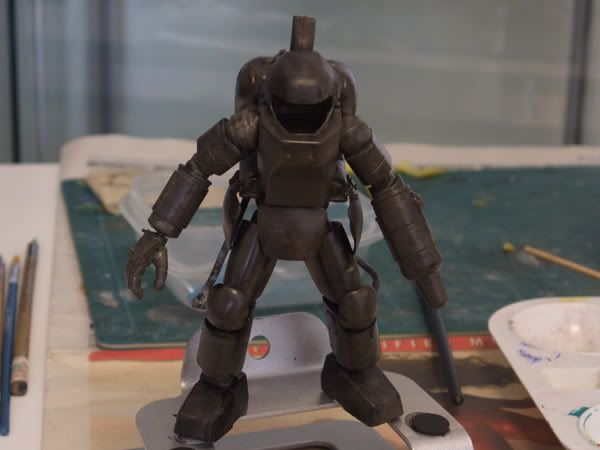
Hi all, sorry for the lack of quality reviews from me. As promised, here's the Goblin 'transform' resin kit from Mirage Ocean. This is sold in WF.This builds up to the Goblin Mak BD version. This kit is a not a full kit by itself, and requires the Nitto Jerry kit to complete it.
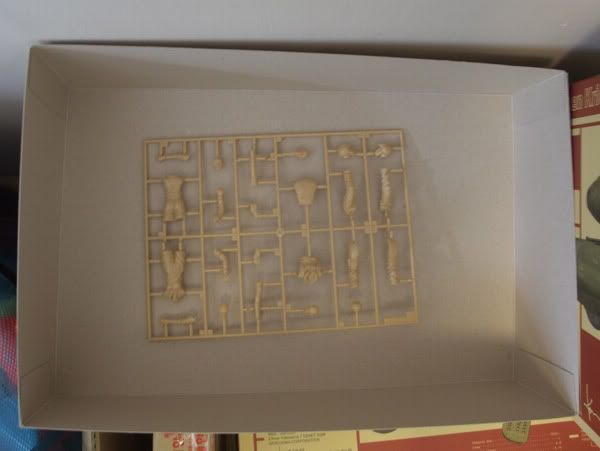
Its made of several parts, mainly the single-piece body, 2 rocket launchers, nose sensors, hatch, and other small parts.
The cockpit can be modeled opened or closed, and I believe its a cast of the SAFS cockpit.
Simple decals are provided. Multimedia includes a grill (feels like fabric) and a thick piece of wire for pinning the parts.
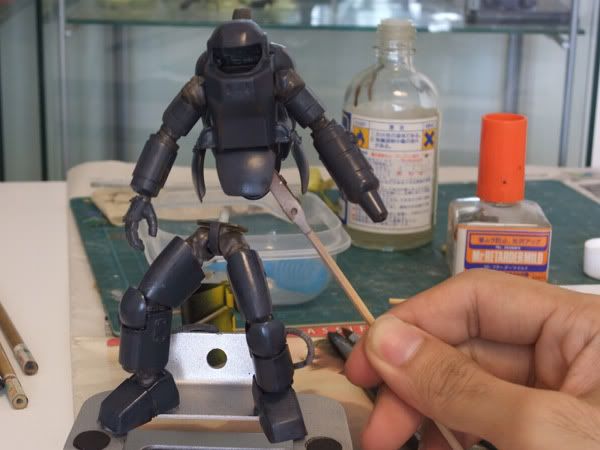
The resin itself is not the new type of light-weight resin, but it does not feel heavy as its hollowed out in the center.
Casting is fair, with a number of flash as can be seen in the pictures, and some lines are ever so slightly curved.
But I believe its not a major issue for modelers.
There are lots of information about this kit which I do not know, such as the date of release.
Please do help update this thread if you have further information.
I want to thank a kind forum member for generously providing this kit for review.
Details
Scale: 1/20Type of material : grey resin
Number of parts: 9
Decals: yes
Instructions: yes
Overall quality: pretty ok
Overall accuracy: ?
Date of release: ?
Release price: 4000 yen I think
Current Running price in YAJ: 5000+ to 7500+ yen
Pictures
Box
Box
 Contents
 Side view
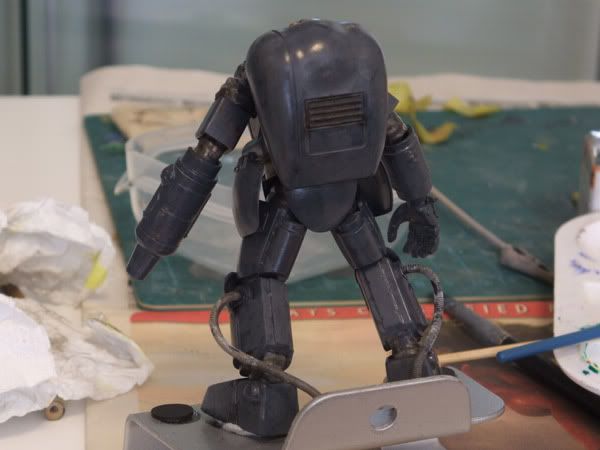
 Underside view
Funny Story
 Mechanic girl: Needs a bit of work...But I like it!
Pilot girl: I want it working tomorrow 0800 hrs!
Admin girl: You need to fill up the requisition form and submit to me by 1700 hrs today before anything starts...
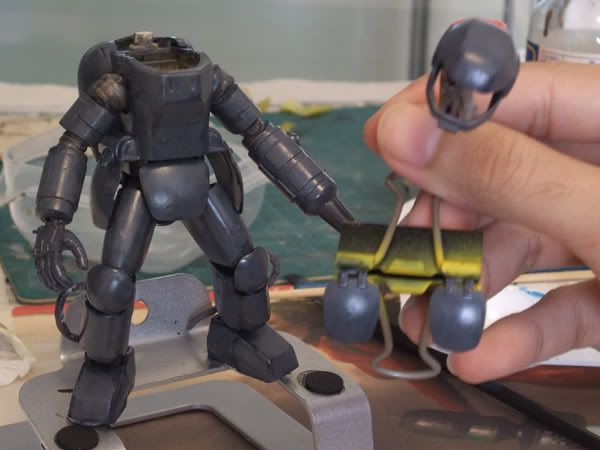
Added closeup pictures of the rocket launcher.
There is a disc-shape protrusion on one side of the launcher.
 And of the other side is the round point where I think it gets attached to the Goblin's hull.