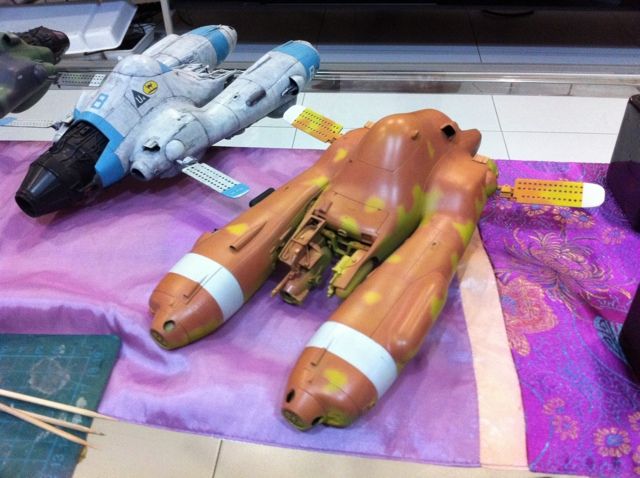
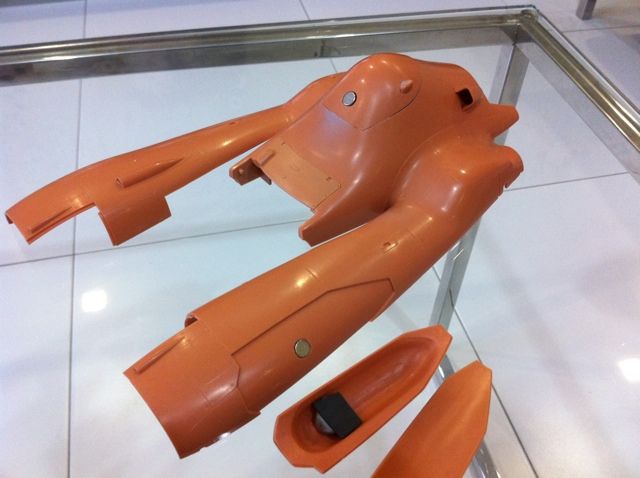
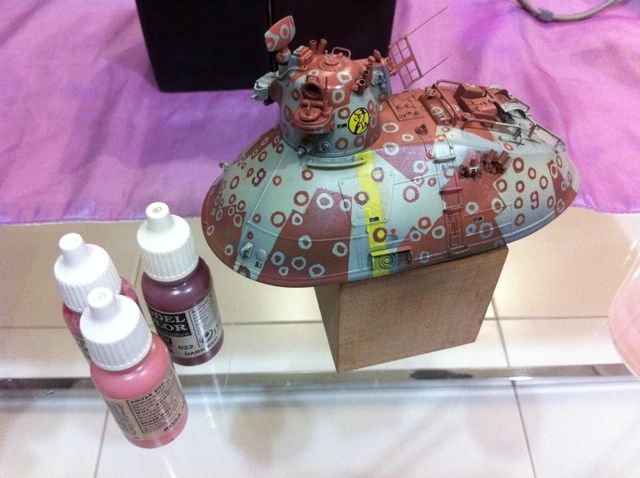
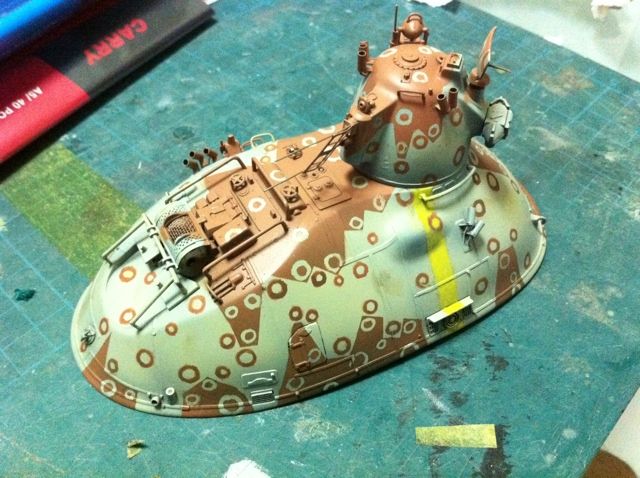
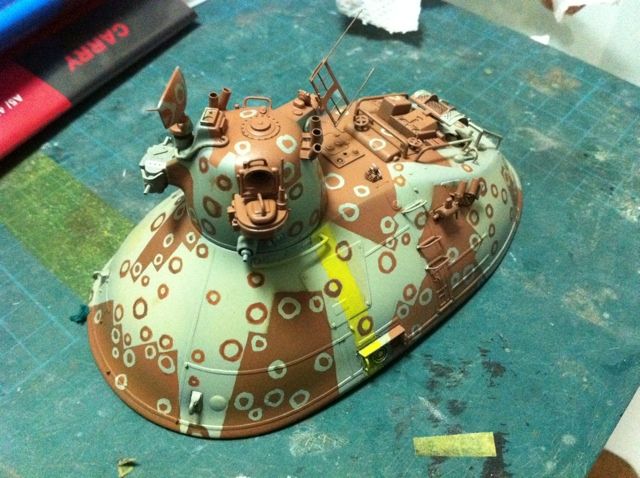
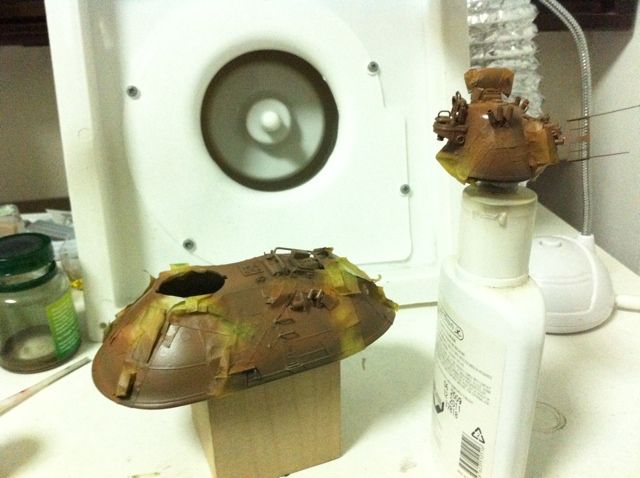
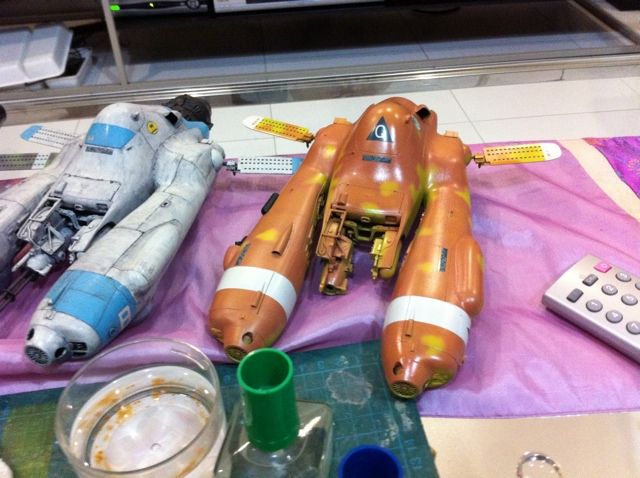
I changed to another yellow, Tamiya xf-3 flat yellow, and then onto the orange which is a custom mix of monkey rose, mr color 59 orange, mr color Gundam yellow 1.
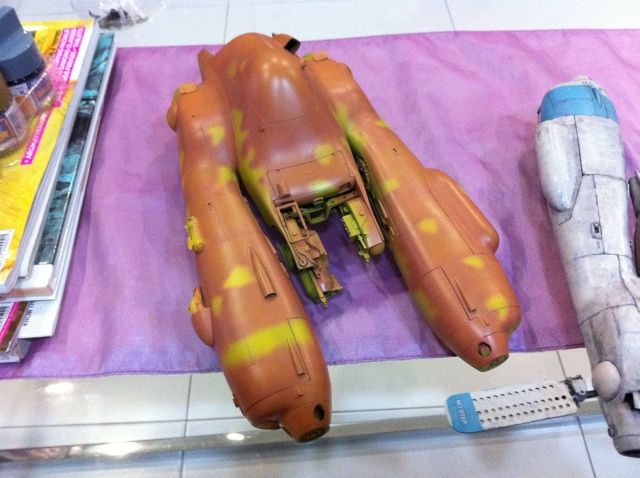
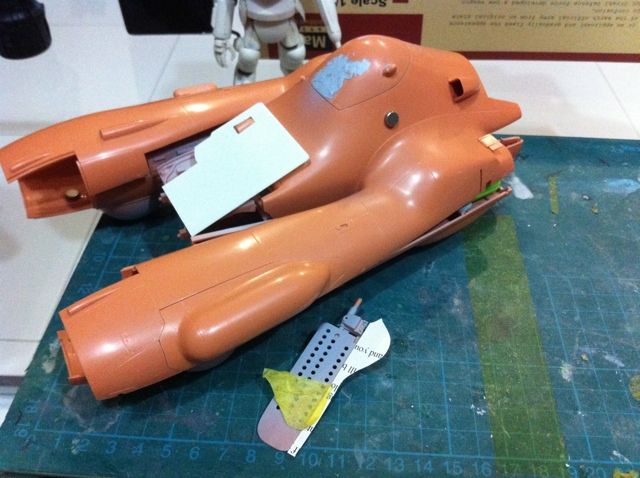
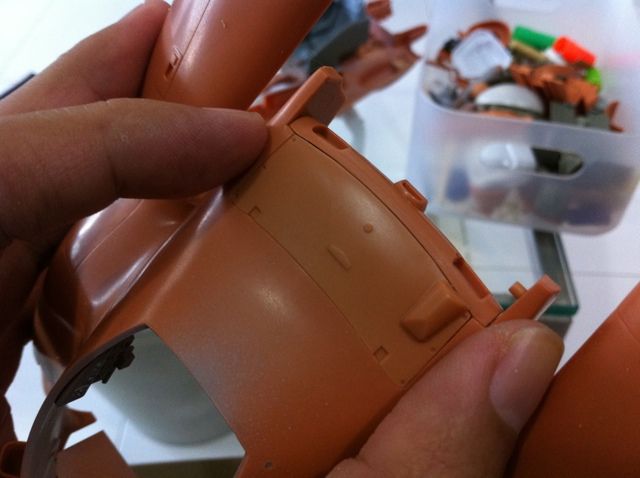
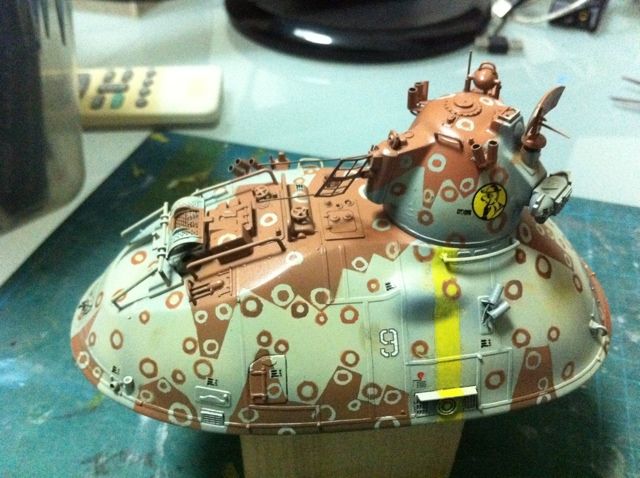
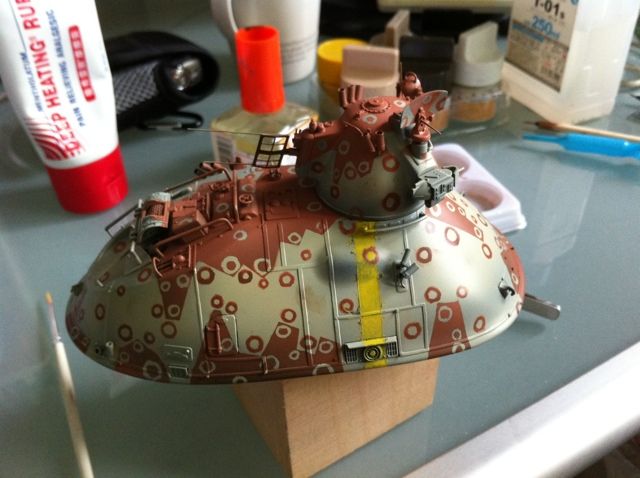
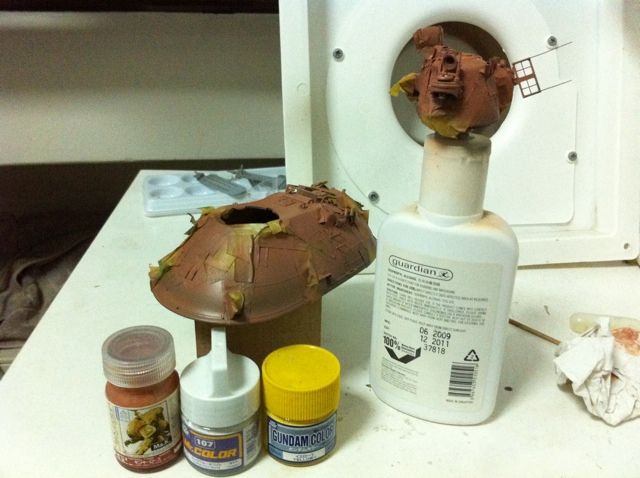
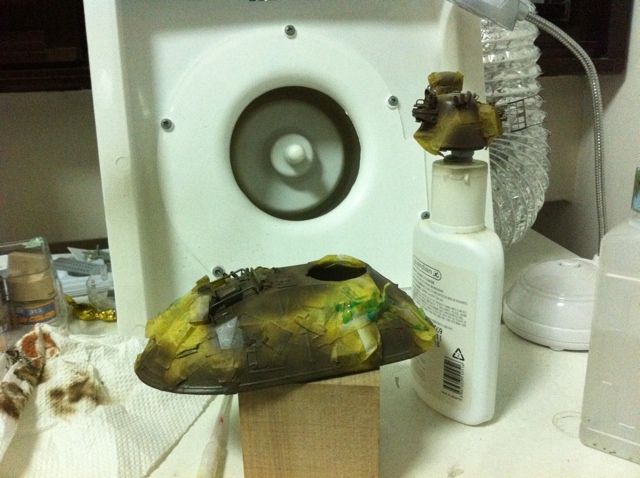
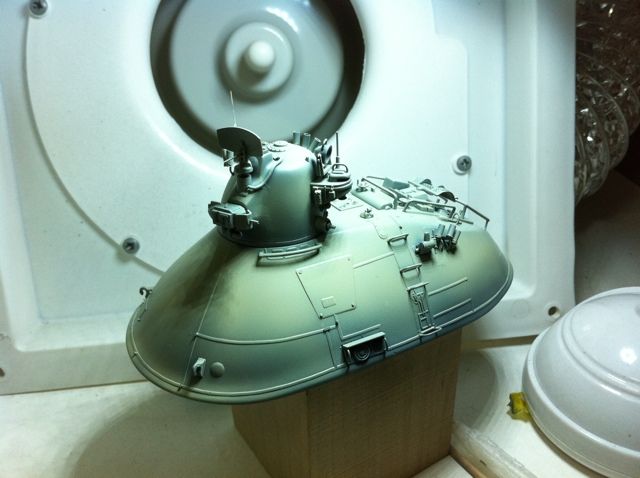
At this stage I am getting careless and not a little frustrated and lots of mistakes and accidents happened. Checked the airbrush for the amount of color left in the cup, never clean my left hand, and yellow appeared on the underside of the Falke. Huge drop of paint landed on the left side too.
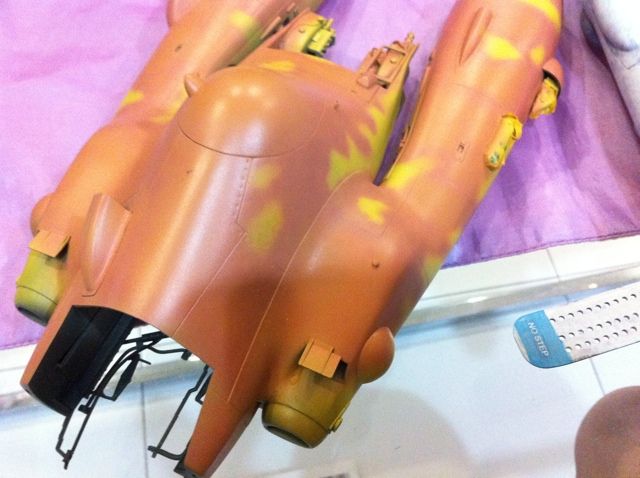
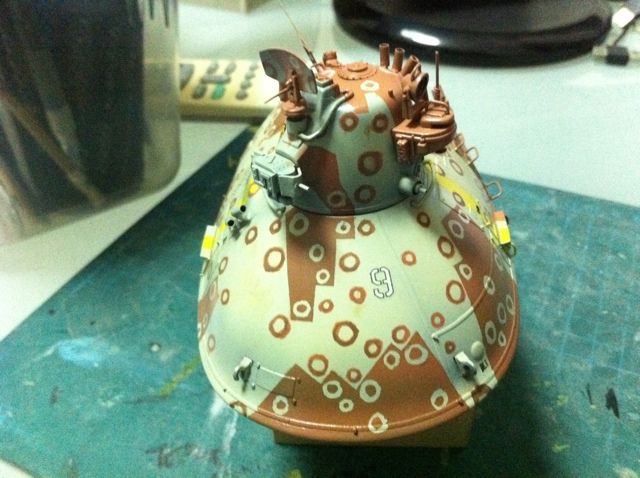
Its not very evident in the photo but it's there, right next to the nub where the antenna is supposed to be. I slowly resprayed over the mistake.
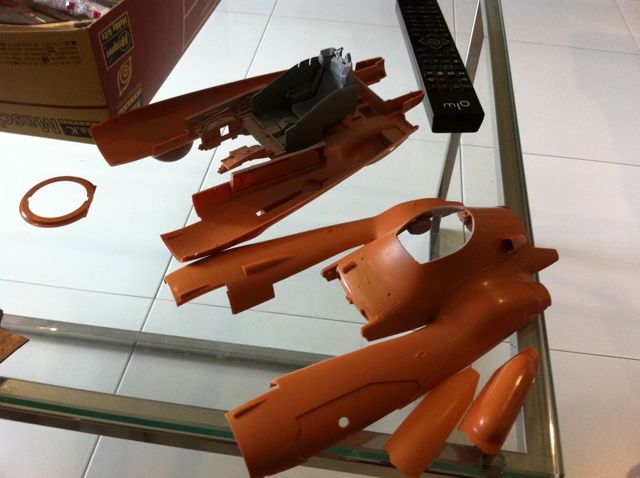
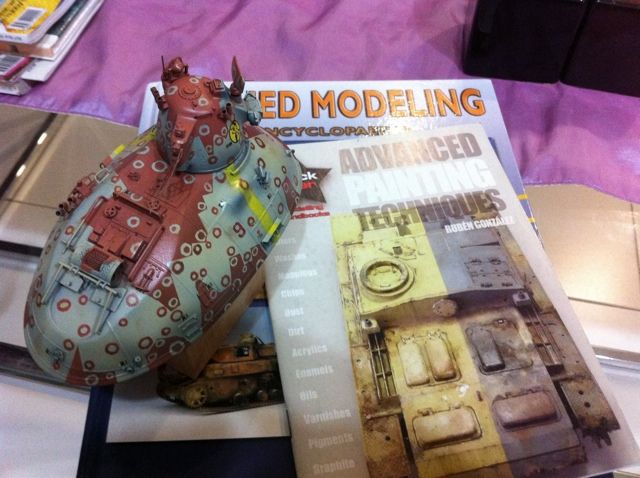
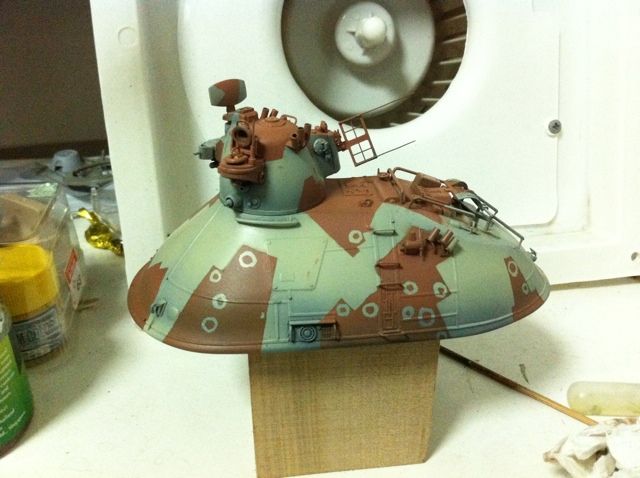
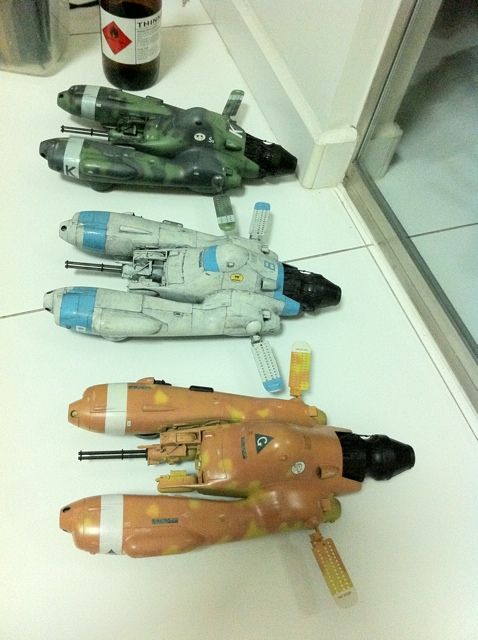
I almost gave up and wanted to strip the entire paint job. But going back to it one day later, I decided to try to finish this guy.

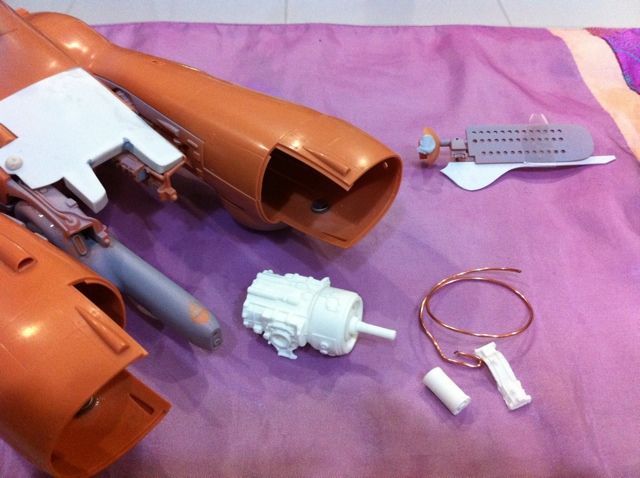
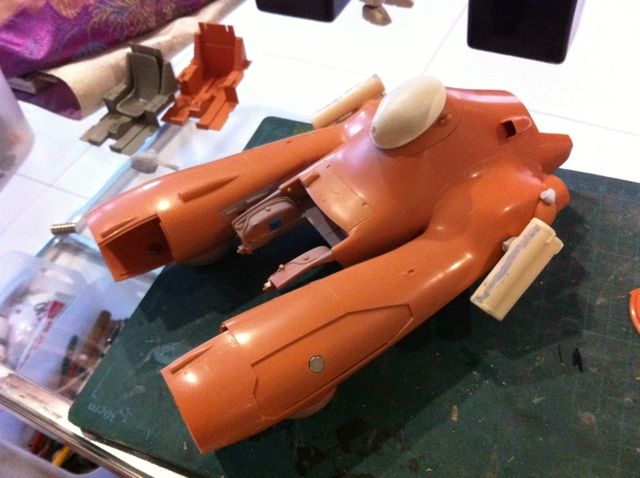
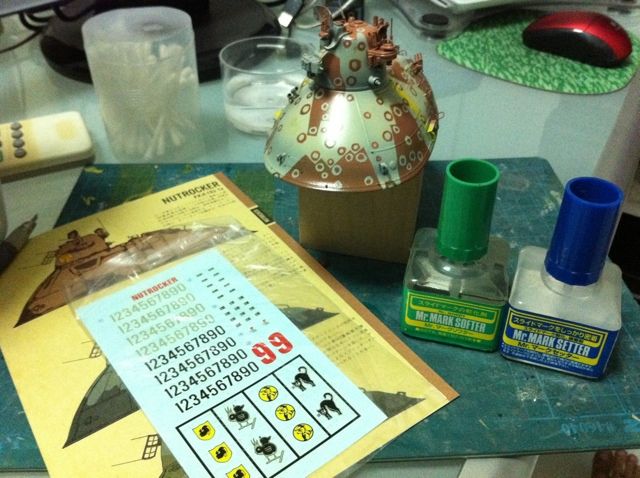
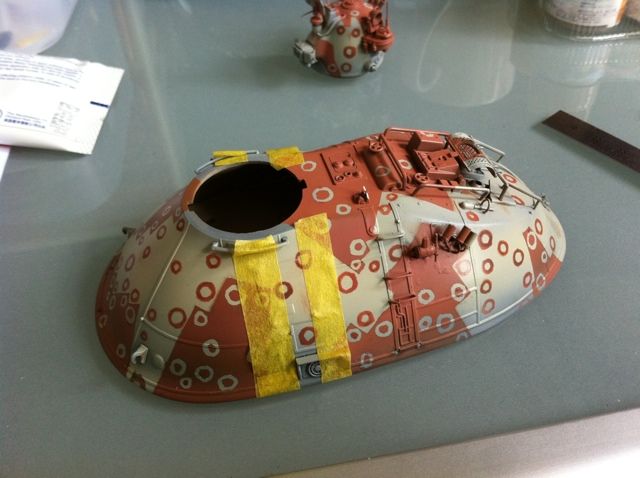
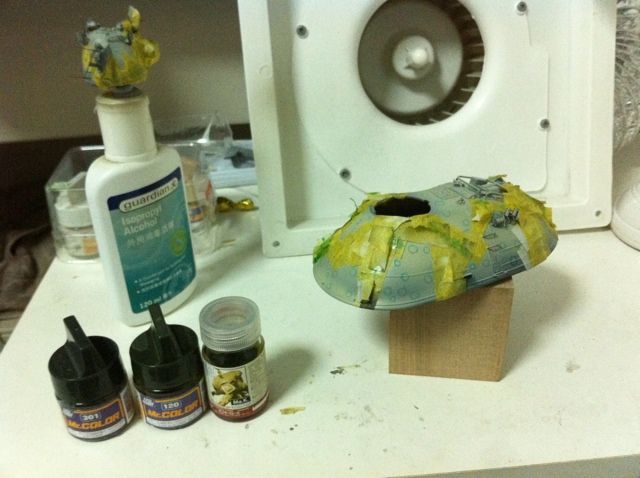
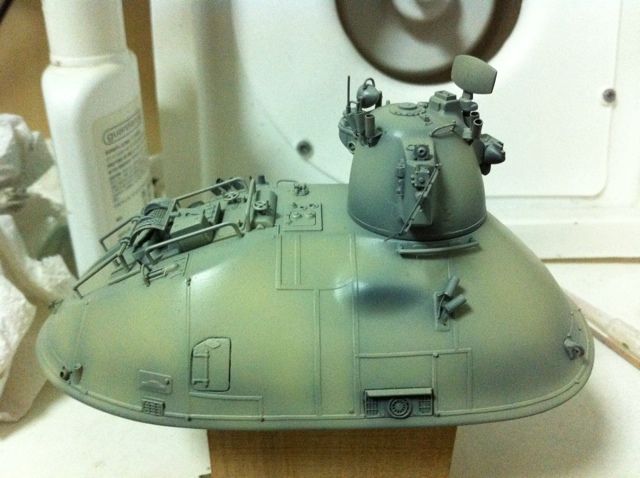
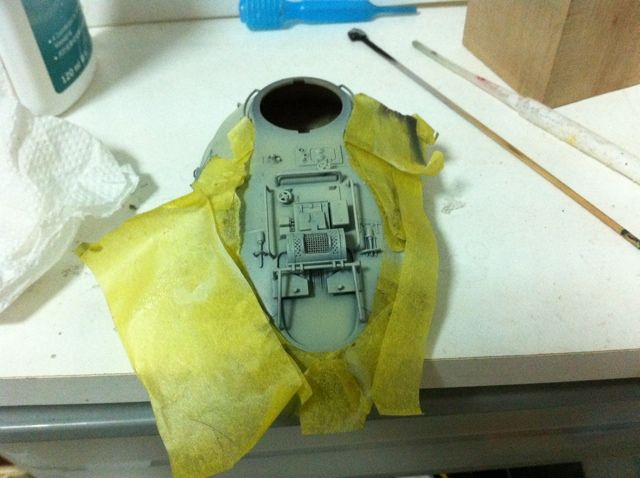
Masked the front and sprayed white. This took one night of work. Finally its the best part again, decals!