Showing posts with label Falke. Show all posts

Tuesday, December 18, 2012

Back in the game with Lunadiver!

I've been working on building kits the last few months, just that I've not gotten the time and energy to setup the spraying table for any serious painting. Finally back in the game!
Still working on my Falke No.4 and the Lunadiver No.1 As you can see, I preshaded the 1/35 Prowler and Fireball (black black stuff in the middle), decaled up the dashboard of the Falke (lower left) and sprayed bluish gray for the internal cockpit of the Falke.
Here's the Luadiver preshaded with pure black on primer.
After the preshade which was done in 1-2 days, I spent another 2 days slowly building up the base color which is a custom mix of white, yellow, green and grey.
The front.
The bottom.

Saturday, April 28, 2012

Falke 4 : air filter

Tiny update: constructed the air filter using just Pla plate. Will putty the gaps and sand down.

Tuesday, April 24, 2012

Falke 4 : minor update

Been sanding the air brakes and will make the rivet holes using a 1mm tube by first softening the styrene with the extra thin cement first. Learnt this trick from the Mak in sf3d vol 2 where max watanabe did the same thing to deepen the rivets and panel lines on the Falke.  Started to make the air filter. As I can't find good images of it online, I will build it creatively... :)

Thursday, April 19, 2012

Falke 4 : Resin engines arrived!


Look at what came in today!

A kind member of the Mak forum gave me an original Falke engine resin made by futch who made and sold the resin Falke before the styrene version which we are building, came out!
It's beautiful!
Now I gotta figure put how to fix it inside ...

Thanks so much zerobxu!!!
So exciting !!

Wednesday, April 18, 2012

Falke 4 : after much filing...


Almost done.. Moving on to the airbrakes!

Thursday, April 12, 2012

Falke 4 - tiny update


Been very tired last two nights due to work and a sick Elias.
Finally managed to cut the front armor from styrene and finalise the shape of te air brakes.
Also puttied up the two exposed magnets and added more on the top interior so that I can hang the Falke if necessary.
Time for bed!

Monday, April 9, 2012

Falke 4: Griffon part 1


Tiny update. I started on the mods to get the Griffon configuration.
I used a piece of paper and using the images from the web, started shaping the front shield.
Once finalized, I will use this paper template to styrene.

Saturday, April 7, 2012

Falke 4 : magneto!


The magnets are so strong that I can place them on the inside of the fuselage and they will hold the magnets outside. I used 4 for holding the missile unit and 1 each for the ag shields for the Struzzo configuration.


I used magnets outside to adjust the positions before using super glue and epoxy putty to secure them.

Playing now, here's an easy conversion to Zuru jp's Nightraven design using the snakeeye's hatch and THAT neuspotter's missiles. I will cast thr hatch and scratch build the missiles to be closer to what his design envisioned.

Friday, April 6, 2012

Falke 4 part 2


Based on my experience on building the Falkes, I decided to apply what I learnt.
I deepen the gap between the front piece so that even after I glue it the panel line will be evident.

I drilled out holes and added strong magnets so that I can attach the different parts and swap them out to make different configurations.

The square holes provided the perfect place to insert the magnets. Later I will add magnetized plastic to the weapons so they can be attached. These magnetized plastic are recycled from my kid's barbie toy which uses magnets to hold the clothing and accessories.

I hollowed out the back and added color marker caps for added internal detail. They will be colored black silver.

Here's wishing all a Good Friday!

Thursday, April 5, 2012

Falke 4 - Variations


It's rainy today so no spraying for me. Moving on to the project which has long been in my to do list.
Falke 4 - variations. Basically i want to make a Falke which has lots of weapon and configuration options,
as well as some designs by Zuru jp here:
http://maschinenkrueger.com/forum/index.php?topic=3172.0
Also I will finally paint the pilot and cockpit which I have avoided so far.
Some variants I am planning:
Stuzzo by Zuru jp
Falke bomber
Griffon

I don't plan to get the Griffon as it's still expensive and I already have 4 Falkes ...

Monday, April 2, 2012

Decals up!


Decals are up! And I like to put all the planes together to look at them...

Sunday, April 1, 2012

Back to the falk3 : Shit happens!

I changed to another yellow, Tamiya xf-3 flat yellow, and then onto the orange which is a custom mix of monkey rose, mr color 59 orange, mr color Gundam yellow 1. 

At this stage I am getting careless and not a little frustrated and lots of mistakes and accidents happened. Checked the airbrush for the amount of color left in the cup, never clean my left hand, and yellow appeared on the underside of the Falke. Huge drop of paint landed on the left side too.

Its not very evident in the photo but it's there, right next to the nub where the antenna is supposed to be. I slowly resprayed over the mistake.
I almost gave up and wanted to strip the entire paint job. But going back to it one day later, I decided to try to finish this guy. 

Masked the front and sprayed white. This took one night of work. Finally its the best part again, decals!

Tuesday, January 10, 2012

Back to the Falke

Back to the clockworks Falke, finishing up the build before I start painting, I went thru the panel lines with a pin vise(broken by accident) to deepen them. Made a few mistakes and had to putty back.

I went and drilled out the hole in the periscope on the hatch. I wondered why they did not make it a separate piece with hole...

Finally I used the hobby knife and tiny drill bit to drill out the air scoops. I did this to my Falke no 2 as well.

Monday, January 9, 2012

Falke no 3 part 4 primed


Baby Elias has been cooperative tonight and so I managed to clean up some parts and prime it. I think it's a bit on the thin side so will probably hit it with a bit more primer before I start to paint it.

Saturday, January 7, 2012

Falke no 3 part 3

Continuing,I used Pla plate to reconstruct the part which I filed off.

Here's the front part.
Here's the rear part.

These are the separate parts which will be glued after painting , the mini gun, main thruster and two attachments which link the thruster to the fuselage.

Thursday, January 5, 2012

Falke no 3 part 2


Almost complete it the second day...
Speed does not mean drop in quality, as I puttied and sanded all the necessary parts.
The most troublesome bit is the side of the cockpit where I had to go in with a needle file to fix the seamlines.
Having learnt my lesson when painting Falke no 2, I decided not to attach the two anti gravity shields and main thruster first, only after the paint job.
all these work done between bottle feeding my kid and trying to get him to sleep..

Falke no. 3 - Clockworks

Encouraged by almost completing Falke no 2, I decided to start on no3.
This will be a fast build, no cockpit details to fix and will be yellow orange scheme : clockworks from the camo card.

Progress after a few hours. I filed off the side thruster details as per max watanabe tip to reconstruct it with plaplate.

Tuesday, December 20, 2011

Engine restarted!

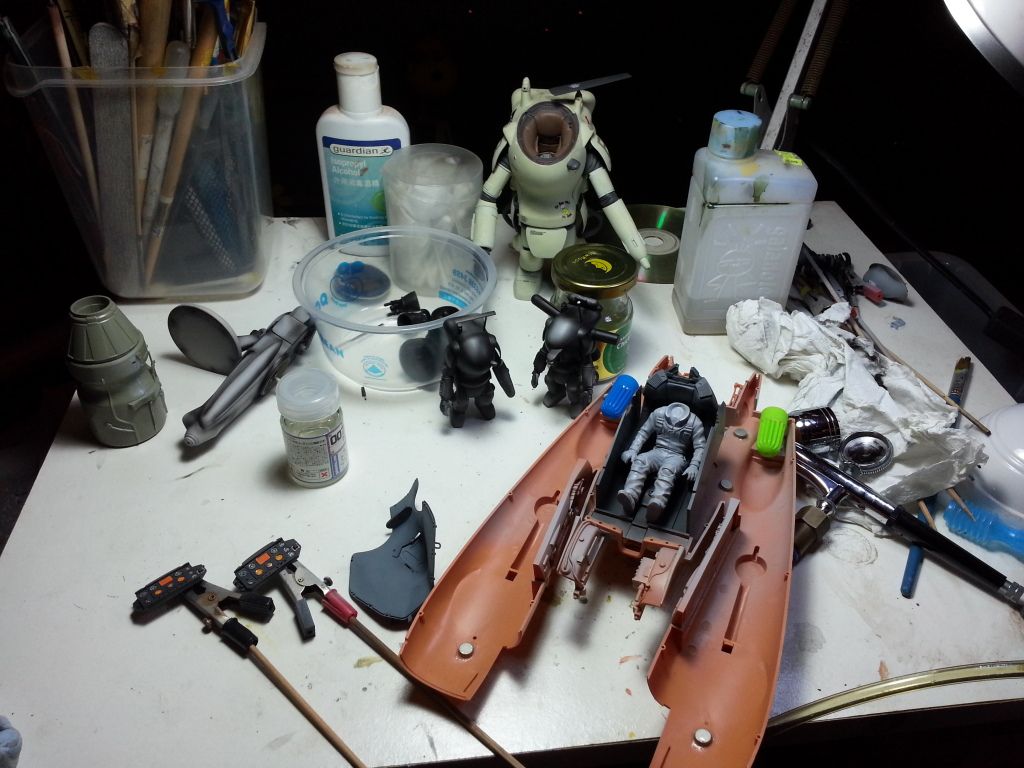
It's been a while since I posted any wip but I've been building and sanding kits til the primed stage. No airbrushing until very recently, as I've gotten myself the diy spray booth based on the thread in the plamo forum.
I restarted my engine for the Plamo december meet.
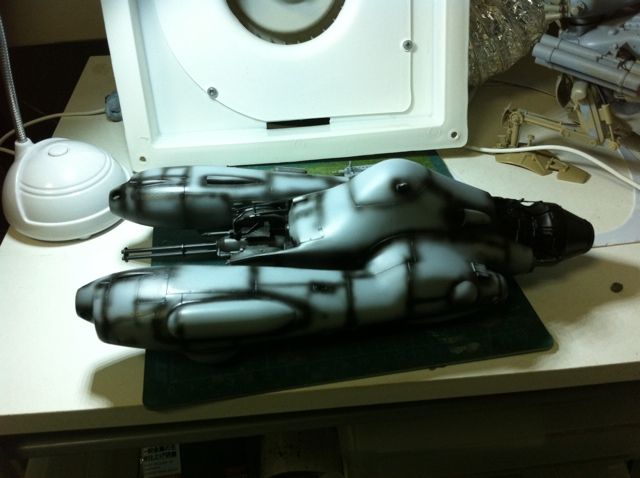
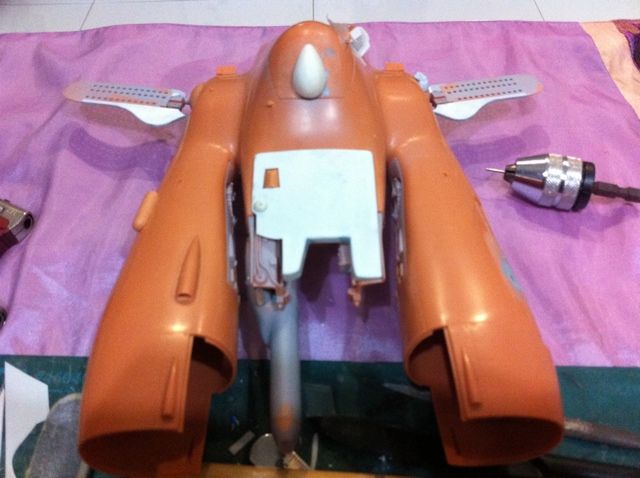
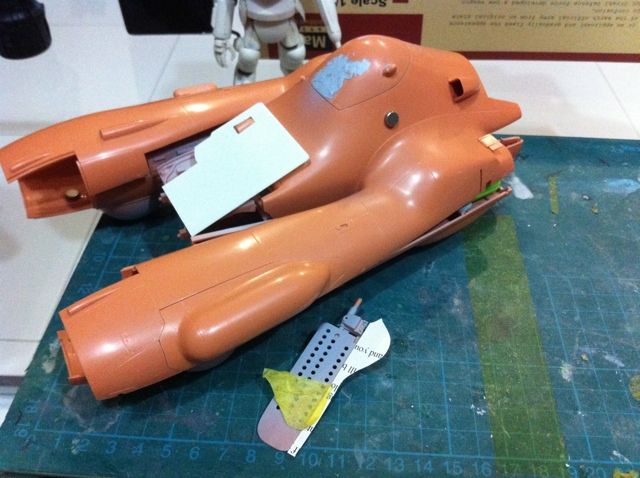
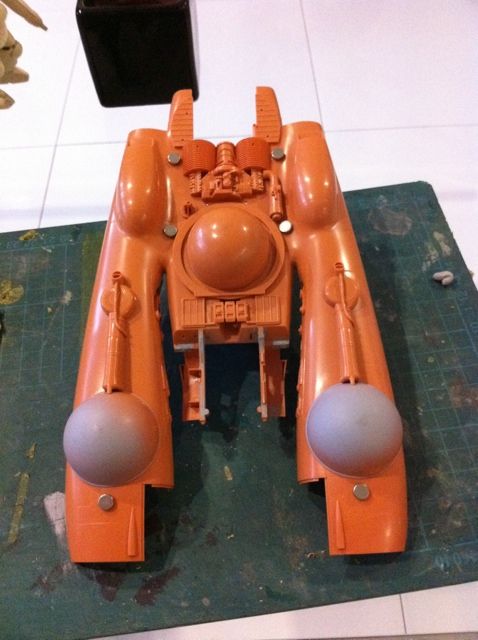
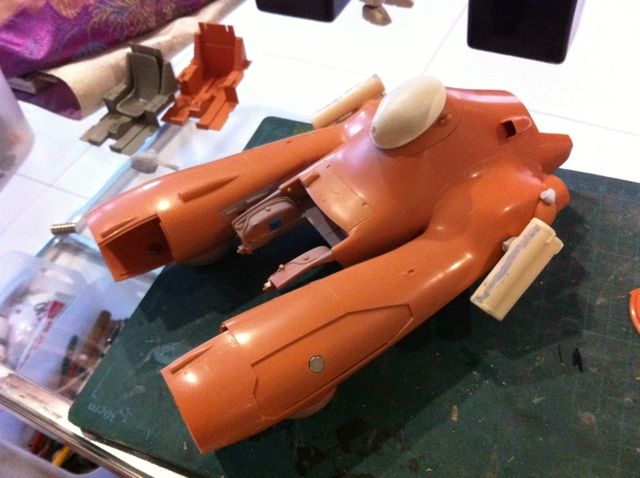
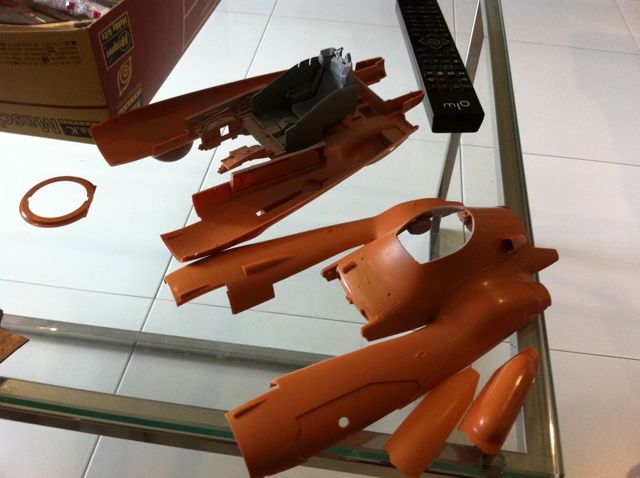
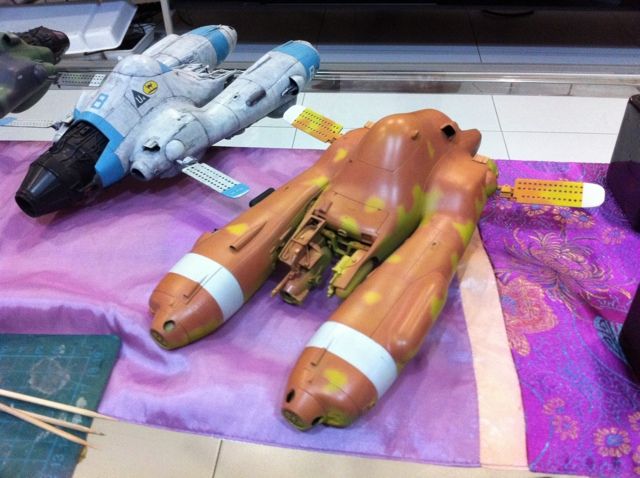
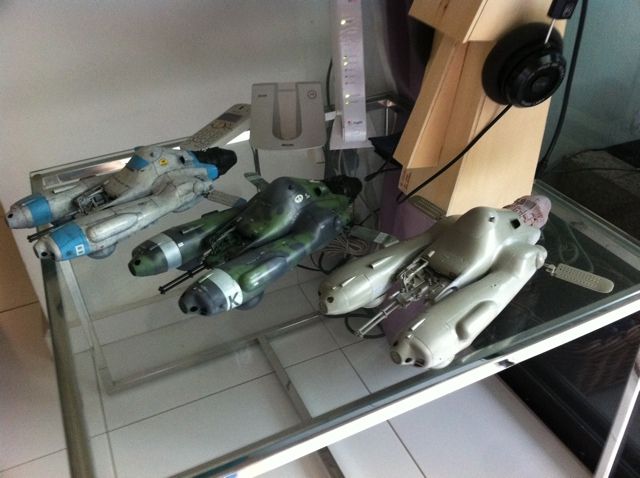
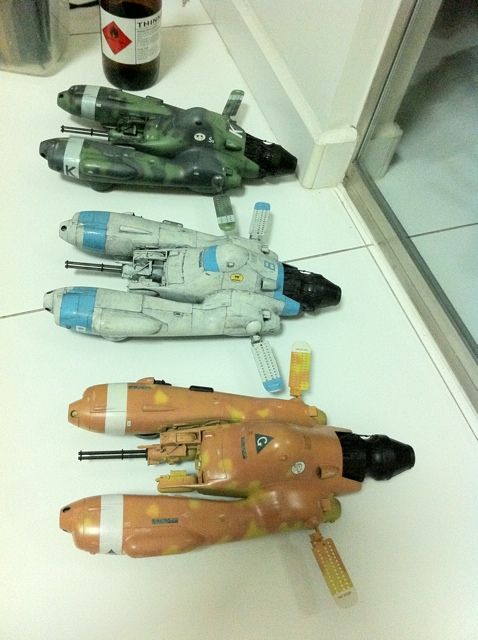
Here is my second Falke, a prebuilt one by another member who sold it to me. it was pretty well built, all that was left were some seam lines to clear.

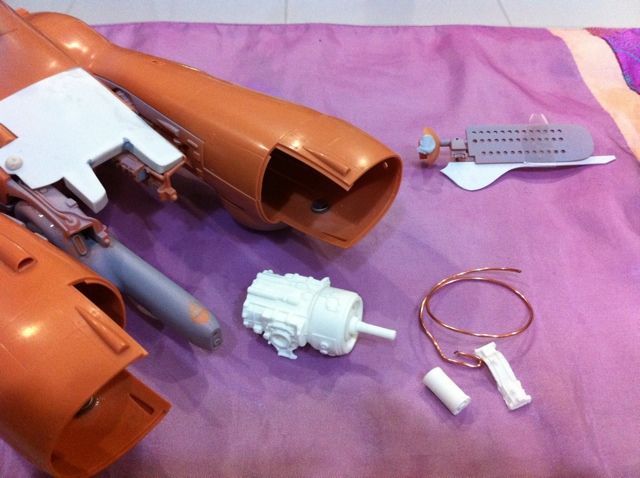
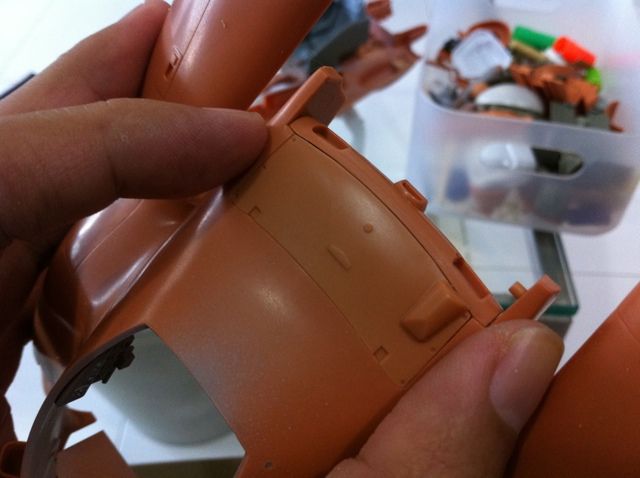
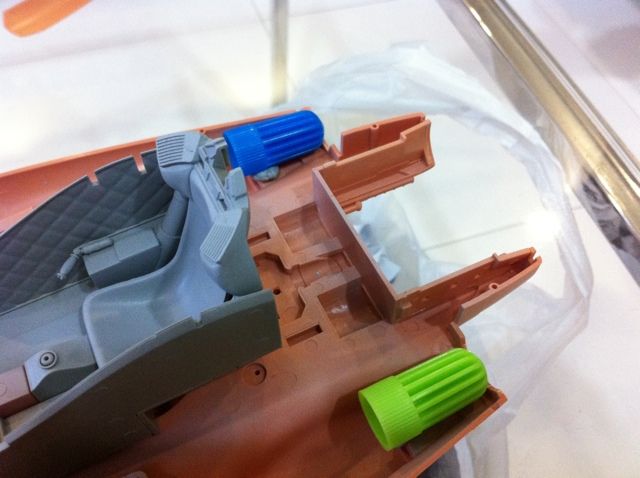
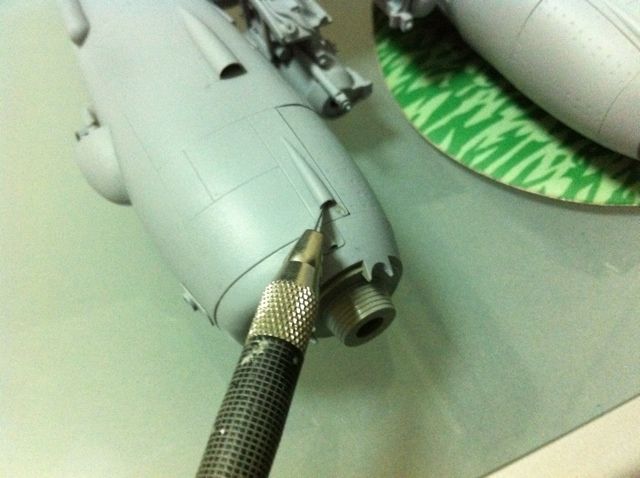
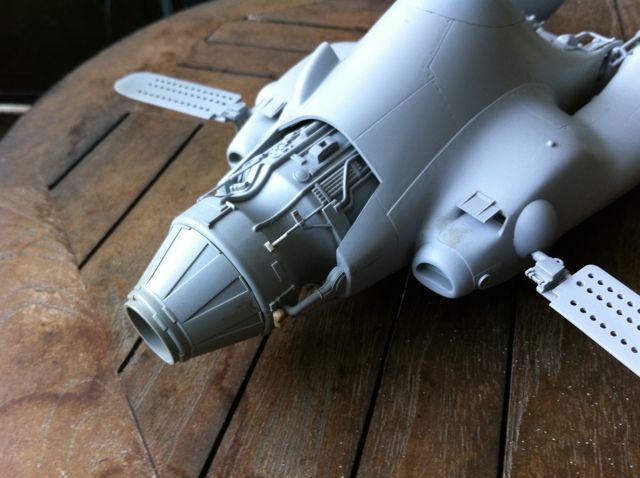
I did add a bit of details to the thruster to hide some seams which were hard to remove cos it was already glued together. You can see them as a different color as the kit

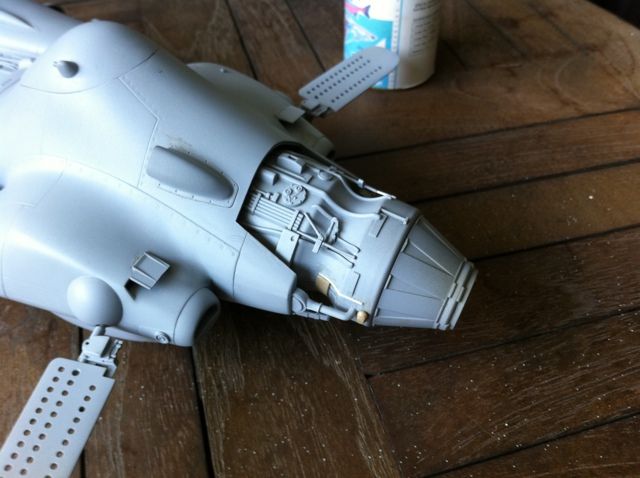
I also fixed some part which I broke accidentally.

I have mixed feelings about this kit, as I am not a Falke fan, and bought 3 of them at the initial selling price, to scratch build the Griffon, and now the Griffon is released as a kit and this kit is heavily discounted on the online sites. Well that's life sometimes.

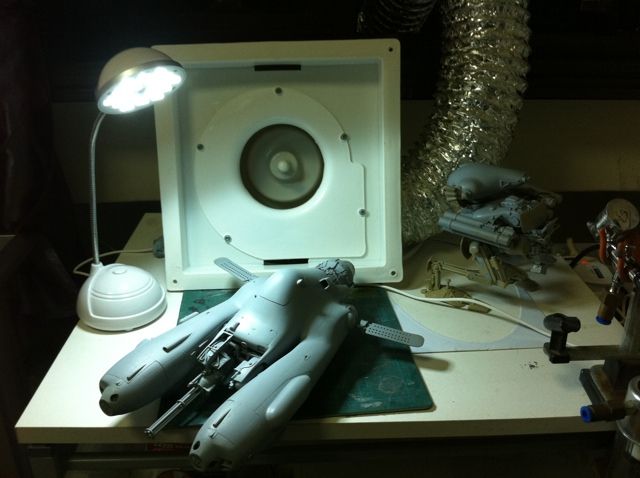
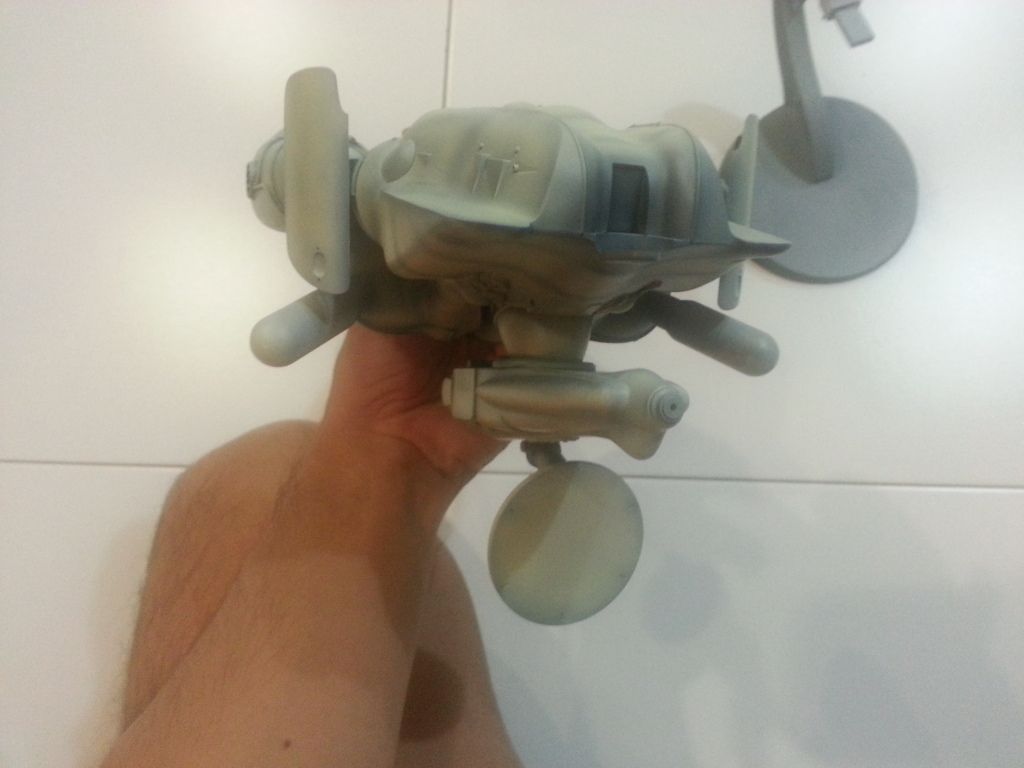
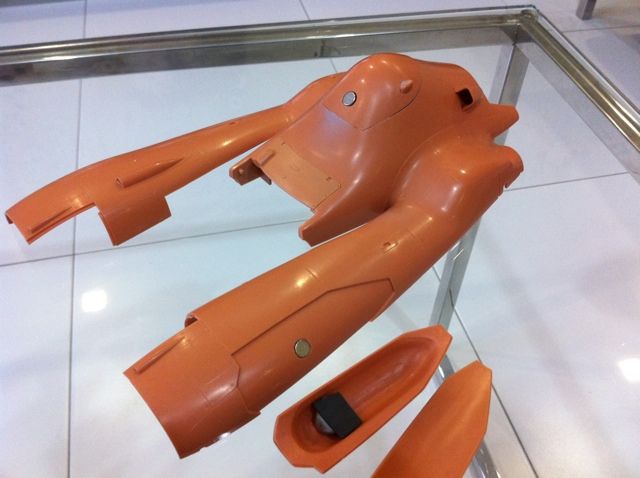
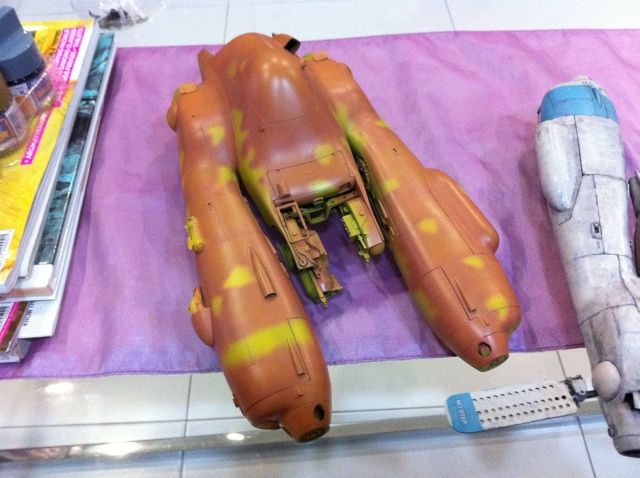
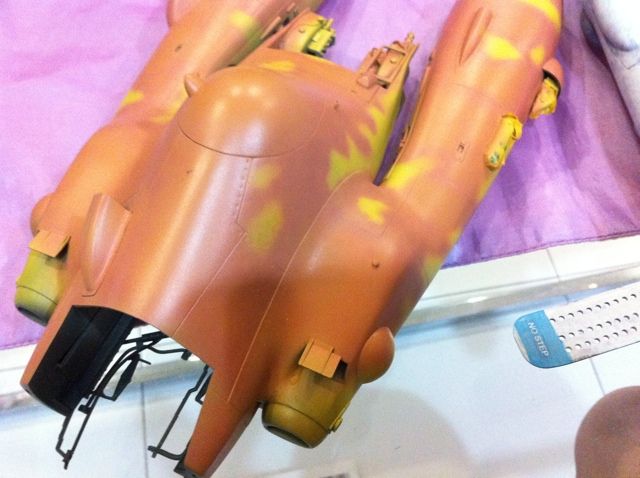
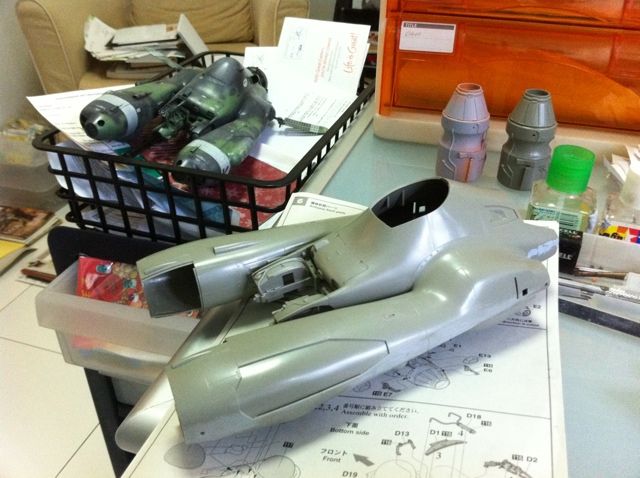
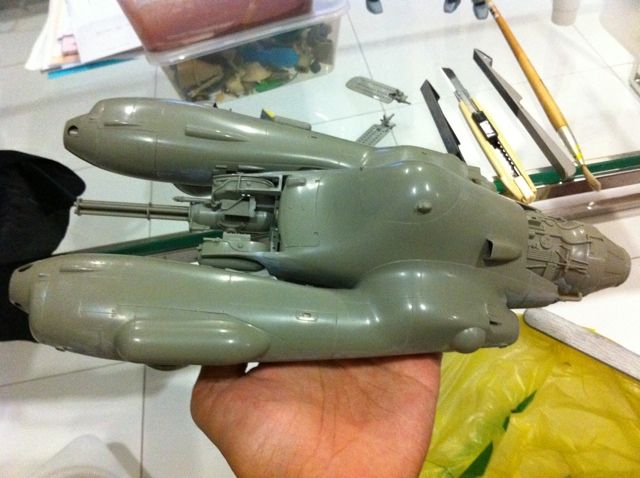
Here is the primed kit in my study where I set up my airbrush booth.

Tuesday, October 13, 2009

Baby Falke pictures by viper1972

Hey guys, thanks to viper1972, here are better pictures of my Baby Falke and KK!
They are taken during the Oct 11 PLAMO meet! Enjoy!


Hey guys, thanks to viper1972, here are better pictures of my Baby Falke and KK!
They are taken during the Oct 11 PLAMO meet! Enjoy!

Monday, October 12, 2009

Polar Bear Trio and Daddy Falke pictures @PLAMO meet

Sorry for the lack of updates, I was really rushing to finish the models for Sunday's meetup. I fell asleep on Friday telling my kid a bedtime story, and on Saturday I did a little more white and blue bands.

I had a company outing Saturday evening and after it, I wass feeling unwell. Slept until 2 am Sunday morning, and then restarted work on the decals and weathering. Who would expect decal placement to take 2.5hours? After that I rushed to paint the faces (and failed cos first time using Vellejo paint). Enamel panel washing completed. Base did not have time to do.

Anyway here are the photos taken by viper1972 of www.spruecutters.com. Thanks man for the fantastic photos and tips on photo taking!

(Note to self: I will still need to work on these, as they are only about 85% complete)