Wednesday, February 29, 2012

More yellow on the nut


With baby Elias sleeping early, I quickly went back to painting the nut. Some of the wires fell off so I reattached them.
I masked off the top surface of the body and sprayed the highlights using a mixture of the yellow and white.
The fake shadows and highlights are quite obvious. The contrast will tone down when I do weathering.

Monday, February 27, 2012

Nutrocker wip : yellow


With the cool bluish gray done, I sprayed very thin coats of mr color 313 yellow which will be one of the two major colors of the squid scheme I will be doing. Took a while to get my airbrush groove back.

Notice that I left the shadow parts uncoated in the base color as the shadow effect. I kept referencing the photos I took earlier to see where the darker areas should be and avoid spraying them. Now this is quite experimental and I am not sure if this is alright. I keep thinking if I should use yellow plus a complementary color as the shadow or leave it as such.
What do you guys think?
It's not done yet as I will have to add yellow and white to spray the highlights on the top facing surfaces.
This is the book I have been reading and it was introduced to me by maxwinamp. Highly recommended!

Saturday, February 25, 2012

Nutrocker base coat


Finally started with a base coat of gray mr color 301.
Highly diluted and took a few passes to ensure that all the shadow areas are covered.
That's all for tonight..

Wednesday, February 22, 2012

Nutrocker primed and pls tell will to start painting!

Will I please get to the painting stage?
Final primed pictures with strong direct lighting so that I can study them when I do color modulation in the painting stage. The shadows and brighter areas will be emphasized using color.
Make sense?


Monday, February 20, 2012

Nutrocker final build step before paint

Final build step before paint, I took up Dainaka's challenge to put wires to the smoke grenade launchers.
Tried wire , hair and finally thin styrene which is able to stick...

It's quite difficult as the add ons are fragile and I broke off the wire ladders a couple of times.
Another part is this suspension part similar to the one used on the leg of the krote.

I rebuilt that part on the Nutrocker using styrene.

And here.

Pardon the blur image as I took them using my phone and they are tiny parts.
Finally I followed vayeate's lead in adding a wire to the turret where a pipe should be.
It's in black.

Wednesday, February 15, 2012

Grosserhund and Ketzer in the house


Finally after waiting for so long my shipment came in!
On valentines day none the less...
Fortunately wife did not see these get past the door!

Saturday, February 11, 2012

Nutrocker and the case of the grill


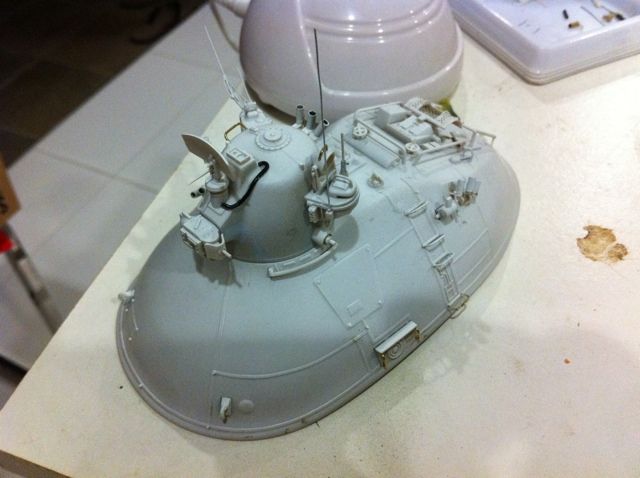
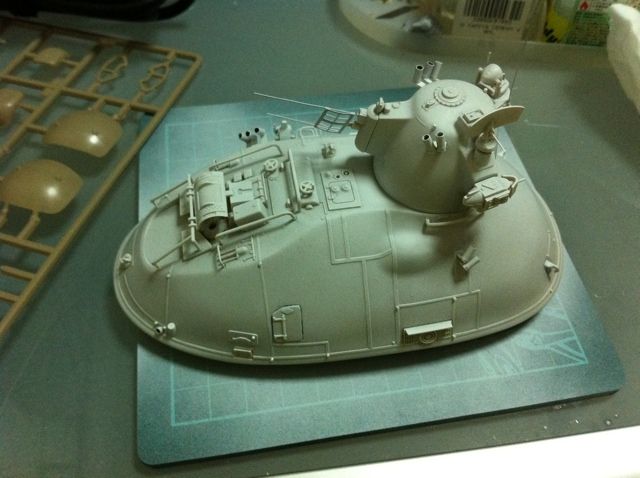
Continued this build after getting very sick this week and now as my kids are asleep I finally sat down and did some work.
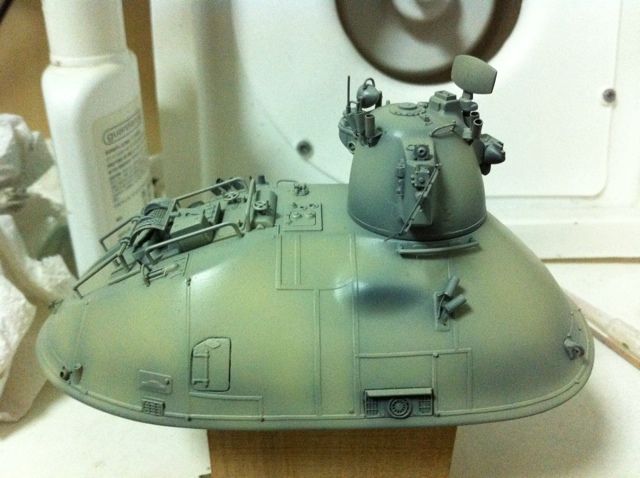
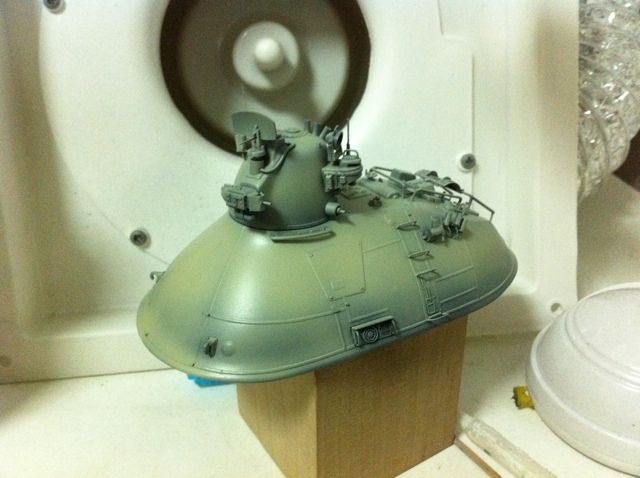
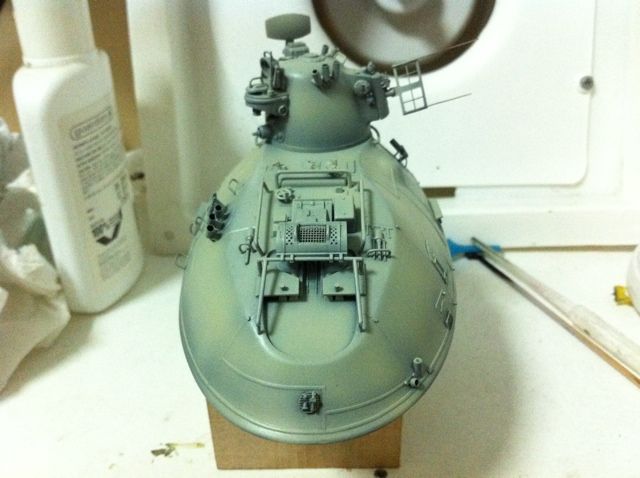
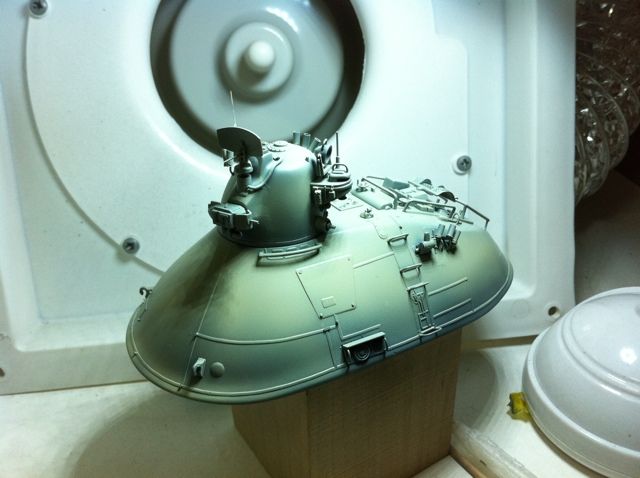
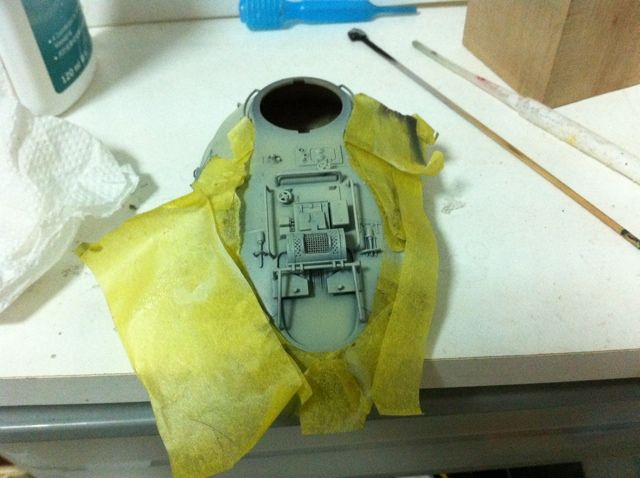
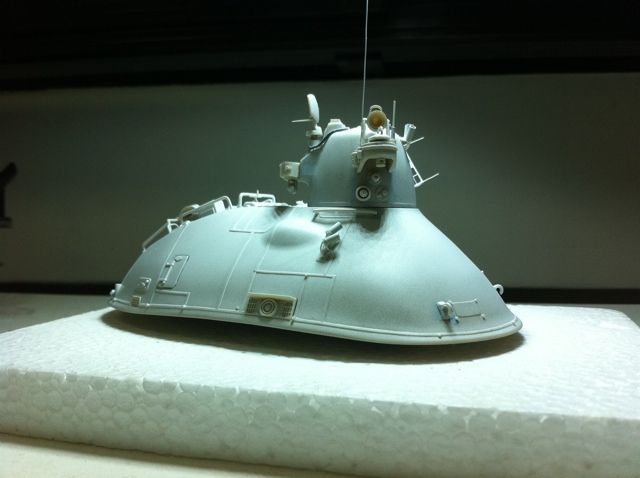
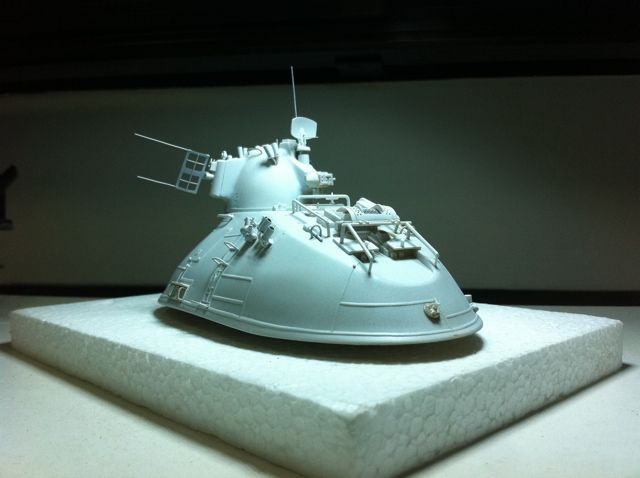
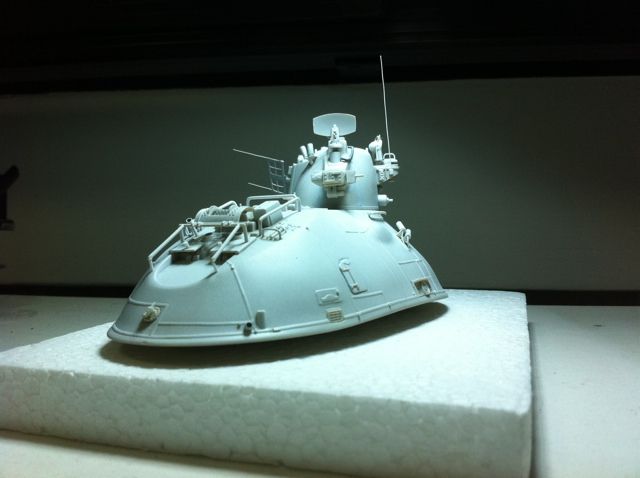
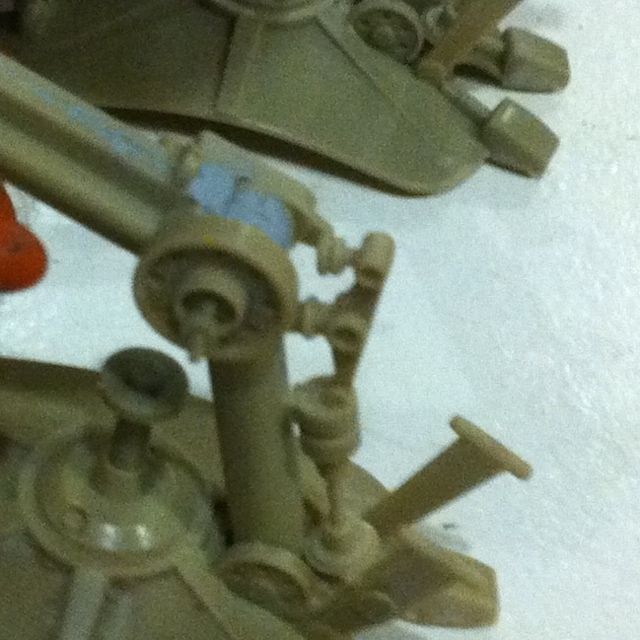
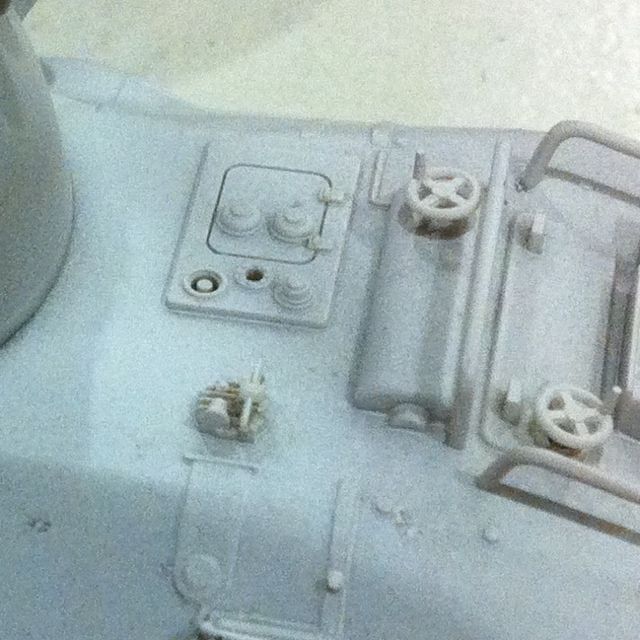
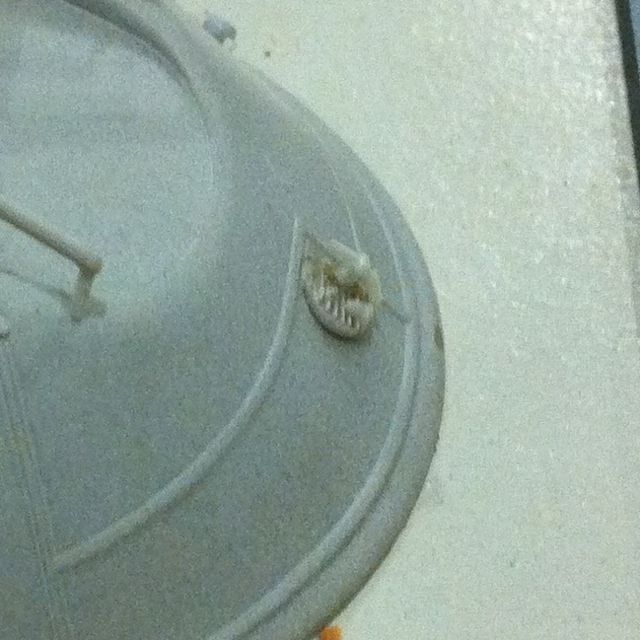
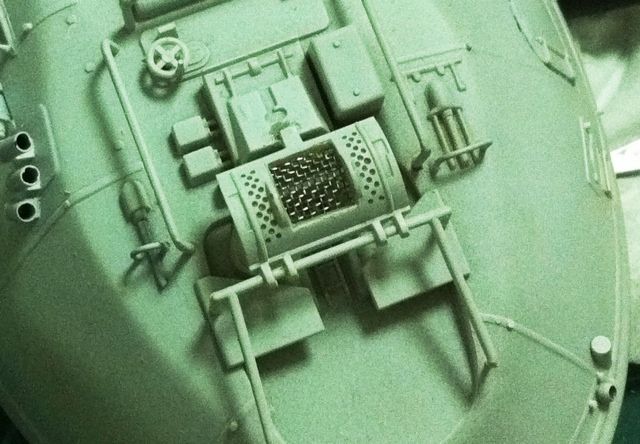
Using a drill bit and hobby knife, I opened up the engine cover by removing the plastic grill in situ and placed a fine wire mesh inside. The cover is firmly glued so I can't remove it. Not easy considering all the fragile parts I need to avoid breaking while cutting the cover! I did make a couple of parts fall off in the process but they are easy glued back.
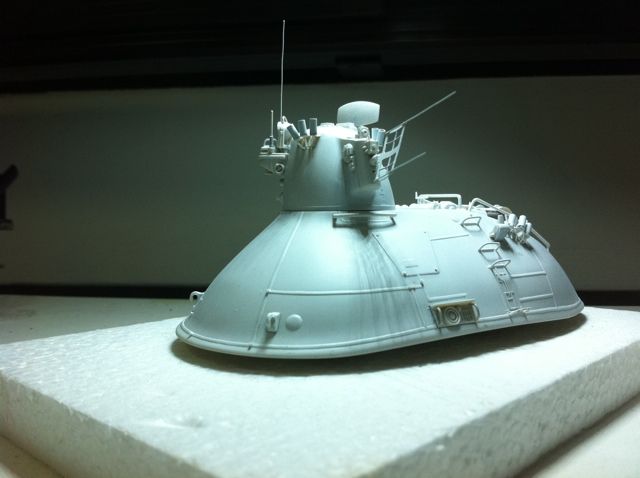
Frankly when Francesco, whom I respect a lot mentioned to replace the cover, I thought he is trying to make my life difficult. But when Dainaka supported the idea, I though hey it might just be possible to do it as a challenge. Well 1.5 hrs later it's done and I am happy with the results.

Thanks guys for your support, and keep pushing me to do better!

As the doc in Back to the Future said: if you put your mind to it, you can accomplish anything.

Sunday, February 5, 2012

Nutrocker primed


Super slow progress due to each one in my family taking turns to get sick.
First was Ashley and now my wife. But thank God only minor food poisoning.
I ran out of the 2mm brass tubes for the smoke grenade launchers and had to go out and replenish them.
Finally primed everything tonight.
Next up, base coat!